Reference this guide for regular maintenance and any troubleshooting for all AMT conveyors! Have a question? Email rfq@amtcolorado.com.
Want a PDF version of this guide? Download it here.
This guide covers:
-
- Preventative Maintenance for AMT Conveyors
- Troubleshooting Suggestions
- AnySize Maintenance and TroubleShooting
Preventative Maintenance for AMT Conveyors
-
- Air filters must be replaced on a regular basis. AMT filter housings are designed for easy removal and replacement of the filters. Filter replacement frequency will depend on the environment. Filters need not be replaced until they are completely discolored. HEPA filter replacement should be done when pressure drop across the filter reaches 2”WG.
- Lock-tite or nylon lock nuts are required on all internal bolts.
- Clean all sensor lenses and reflectors on a regular basis.
- Clean gate shafts and coat with Lithium Complex NCGI II grease every six months.
- A handheld static pressure gage has been provided for initial adjustment and maintenance of the air conveyor and vacuum devices. (Note: there are separate fittings on the back for positive and negative pressures). To check static pressure, place the hose on the correct port (positive or negative), and place the cup at the end of the hose over any hole or louver. The gage must be in a vertical position to get an accurate reading. See table in the “Process Description” section for correct settings.
- Belt Replacement
- Pry the pin lock insert (if one exists) out to gain access to the hinge pin.
- Turn the screw starter (sheet metal screw, etc.) into the plastic pin.
- Pull pin out and add, remove, or replace links as necessary.
- Neck Guide Material Maintenance
- Clean neck guide plastic with soapy water and wipe dry with dry rag monthly
- Replace neck guide plastic every 6 months or whenever it looks worn
- Bearing maintenance
- Temp range is from –20 to 200 ° F
- Misalignment is ± 1.5° (This is the tolerance for the bearing only. All shafts in all equipment should be parallel to each other and perpendicular to the bearing mounting surface.)
- Grease type: Lithium Complex NCGI II
- Bearing maintenance recommended by the manufacturer is as follows:
|
Type of Maintenance |
When to do |
What to do |
|
Check set screws |
Initial inspection-24 hrs. |
Check set screw tightness. Re-tighten if necessary. |
|
Locking Collars |
Initial inspection-24 hrs. |
Check eccentric collar tightness on shaft. If loose, turn in the direction of shaft rotation until hand tight. Then tighten the collar set screw to the torque values recommended |
|
Lubrication |
Bearing temp. Grease Interval |
Add grease slowly with drive in operation. When lubricant begins to come out of the seals, the bearing will contain the correct amount of lubricant. |
|
Check mounting bolts |
Initial inspection-24 hrs. |
Check mounting bolt tightness. Re-tighten if necessary. |
|
Check bearing alignment |
Initial inspection-24 hrs. |
Check bearing alignment. Note if bearing may have slipped or moved since installation. |
|
Check for damaged seals |
Initial inspection-24 hrs. |
Check seals to make sure they have not been punctured or damaged by foreign objects. |
|
Check bearing temp. |
Initial inspection-24 hrs. |
Check to see if bearing is running hot. Bearing temp should not exceed 200 degrees F. |
|
Check for bearing noise |
Initial inspection-24 hrs. |
Check for bearing noise. Bearing should have a soft smooth purring sound. |
Want a PDF version of this guide? Download it here.
Troubleshooting Suggestions for All AMT Conveyors
Blower Vibration (Air Conveyor)
-
- A small amount of vibration in a blower is normal but if it is excessive check the following:
- Check for accumulation of dirt and/or grease on the fan wheel
- Check for a broken blade
- Insure that the blower frame is mounted secure
- Insure the blower frame is mounted such that the housing is not twisted
- Make sure the motor is mounted secure
- A small amount of vibration in a blower is normal but if it is excessive check the following:
Bottle Jams (Air Conveyor)
-
- Insure the neck guides are clean, free from foreign objects, and gauged properly (1.19” spacing for 28mm and 1.50” for 38mm).
- Check for excessive wear on the clip-on plastic.
- Look for misalignment at the splices on the neck guide and guide rail.
- Insure that the bottle guides are spaced properly.
- Check to see if the pressure is too high.
Gearbox Heat (Hopper Accumulator)
-
- Normal temperature for a gearbox is such that a person can touch it without getting burned. If temperature is excessive then check the following:
-
-
- Insure the gearbox has sufficient lube, if not make sure it isn’t leaking
- Check to see if there is anything causing excess load on the belt.
-
Sensors not detecting (Air Conveyor & Hopper Accumulator)
-
- Clean the lens and reflector
- Re-adjust sensitivity as needed
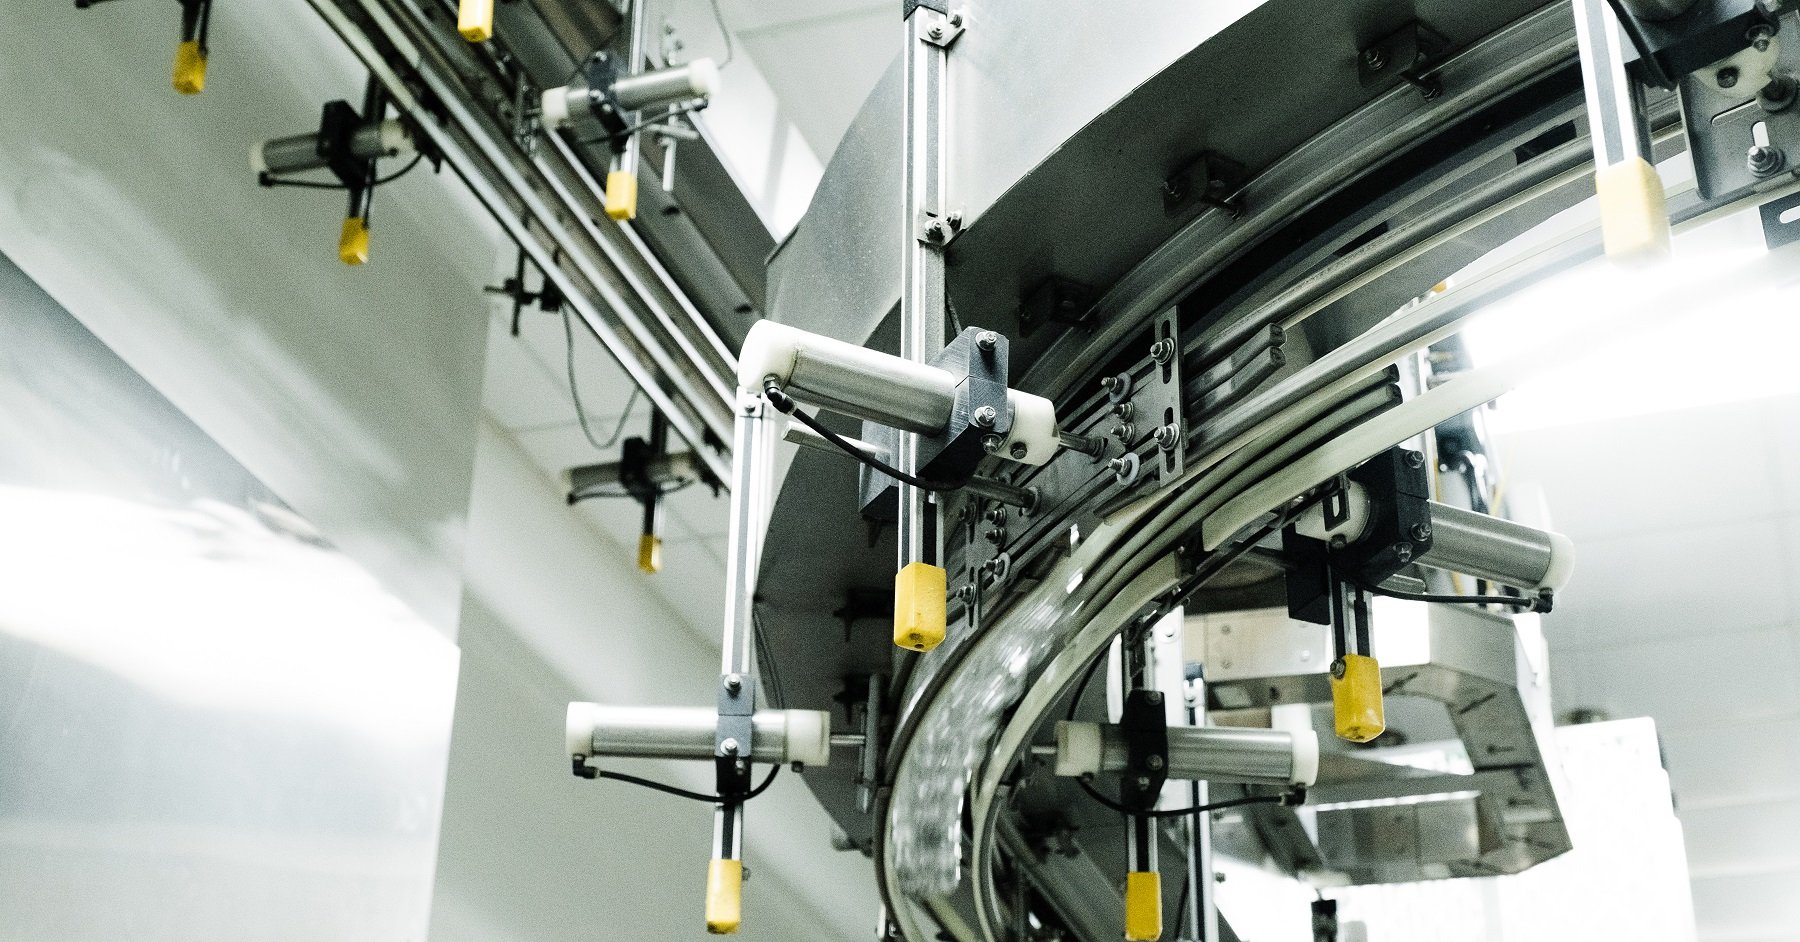
Loose spot (AnySize Rails)
If the guide rail spacing has increased at spots along the line or towards the end of a zone, check the following:
-
- Look for bent down brackets or signs which may indicate the side rails or positioners were bumped. If the positioner appears to have physically moved re-gauge using the steps outlined for replacing a positioner.
- Check airline and fittings for leaks within 10’ of loose areas. Replace any leaking fittings; make sure airline is cut neatly where it connects to fittings.
Erratic side rail movement or rails never settle (AnySize Rails)
-
- Check zone for leaks and fix any leaks found
- If problem persists check the P3HP regulator
Zone is not operating.
Replace solenoid valve for zone.
Neck Guide Material
-
- Check neck guide plastic in the turns to ensure it is not causing binding. The plastic should be cut flush with the end of the moving plates. Considering limiting the AnySize min and max pressure to avoid the fully retracted and fully extended turn positions.
- Verify that there are no neck guide butt joints directly across from each other. Clip on neck guide material should always be installed with a minimum of 2’ stagger between the left and right side butt joints. This is especially critical in turns.
AnySize Maintenance and Troubleshooting
Maintenance Tasks
-
- Check filters in RAD box
- Drain water in Ballast Tank
- Make sure spares parts are on hand. Spare parts should include:
-
-
- Replacement solenoid valves,
- One replacement digital regulator
- Filters
- Spare positioners
- Miscellaneous poly tube and fittings listed on the “AnySize Spares List”
-
Troubleshooting
Loose spot
Guide rail spacing has increased at spots along the line or towards the end of a zone.
-
- Look for bent down brackets or signs which may indicate the side rails or positioners were bumped.
- If the positioner appears to have physically moved, re-gauge using the steps outlined for the set up procedure
- Check airline and fittings for leaks within 10’ of loose areas. An inexpensive Dwyer pressure gauge is a good way to find leaks.
- Replace any leaking fittings.
- Make sure airline is cut neatly where it connects to fittings.
- Check for binding, binding will significantly reduce AnySize accuracy.
Erratic side rail movement
-
- Check zone for leaks and fix any leaks found
- If problem persists check the P3HP regulator settings. See appendix for correct P3HP regulator settings.
Zone is not operating
-
- Check to make sure the zone shut off valve is not engaged
- Check that there is pressure going to the pilot valve
- Ensure 80psi to the RAD box
- Replace solenoid valve for zone
- If problem persists replace piloted regulator